
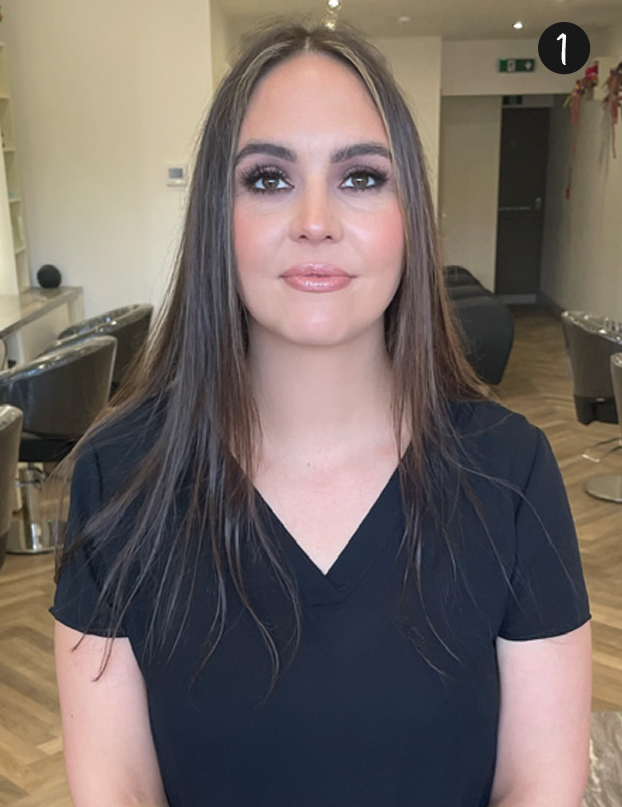
STEP 1:
Prep your client’s hair with Great Lengths Clean Remover Shampoo, removing excess oils and residue caused from styling. This ensures the longevity of the hair extensions.
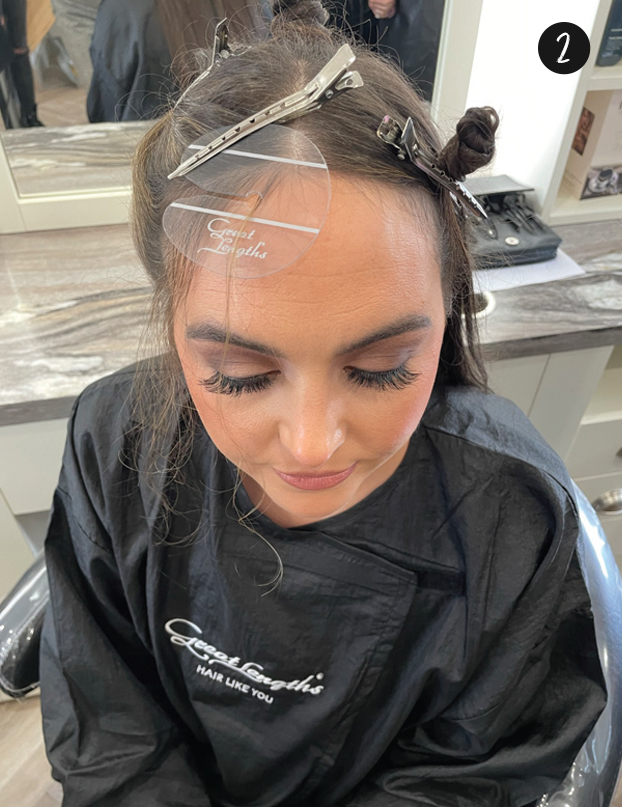
STEP 2:
Section ¼ inch of the natural hair from around the front hairline.
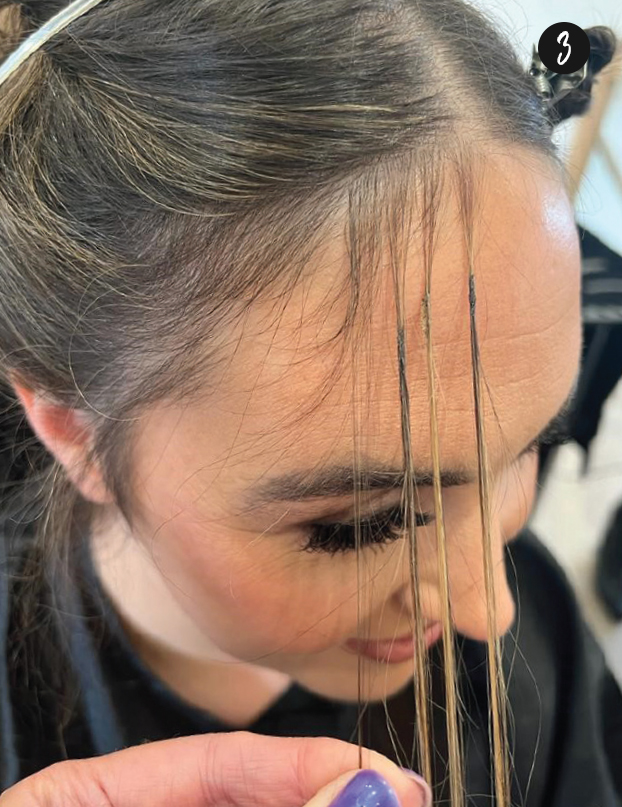
STEP 3:
Apply a row of micro bonds –ensuring you do not leave a gap.
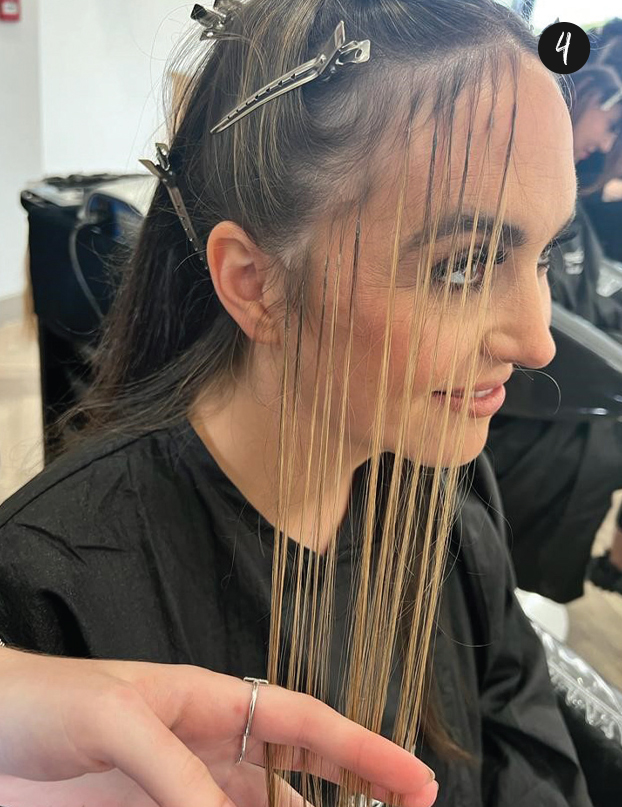
STEP 4:
Take a ¼ inch section and repeat another row of micros. Ensure this is done as back to back rows. Once complete, take another ¼ inch section and apply a row of mini bonds. Repeat this for another two rows. Section a triangle from the parietal ridge to the centre parting (the depth will depend on the amount of colour you wish to add. The further back the section, the bigger the section of colour). Within the triangle section, brickwork mini bonds until you reach the triangle point.
STEP 5:
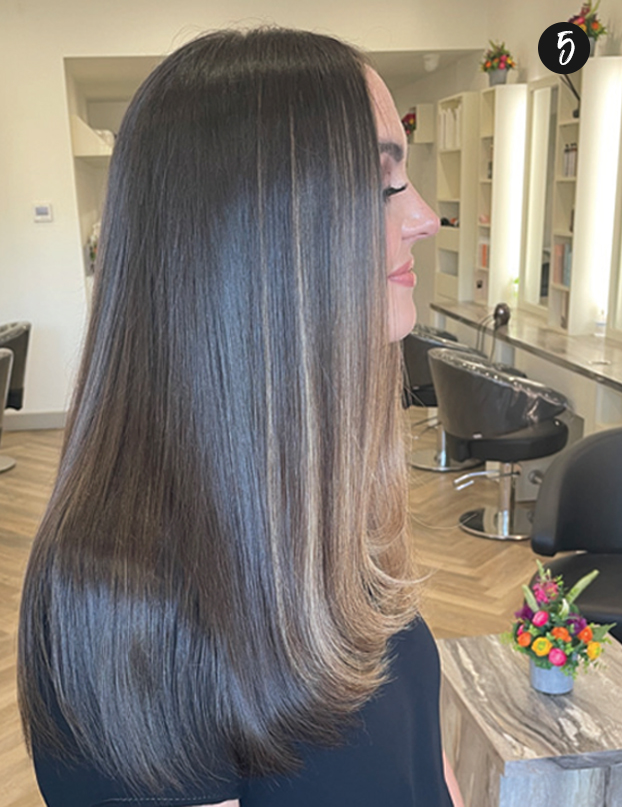
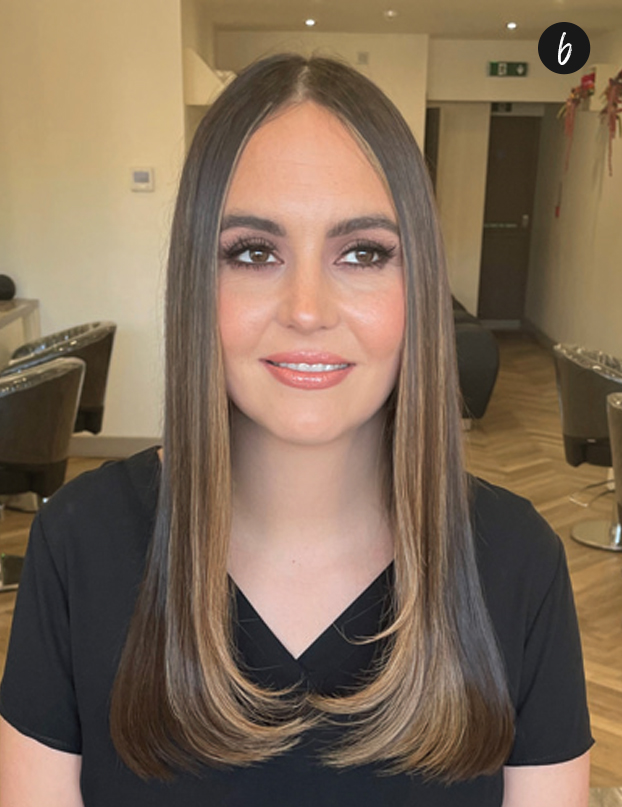
Cut and blend the hair extensions with the client’s natural hair.
STEP 6:
Smoothing the mid lengths, use straighteners to apply a slight bevel on the ends to create a face framing effect.
Great Lengths Clean Remover Shampoo
Micro Bond Hair Extensions
Scissors
Comb
Straighteners


