CULt Pixie cut

You will need

Step 1
Wash the hair
Step 2
Next mix your powder lightener and 6% vol.
Step 3
Starting through the front sections, begin applying your colour.
Step 4
The hair is combed off the face in sections, with colour applied at the roots.
Step 5
Leave your lightener to process.
Step 6

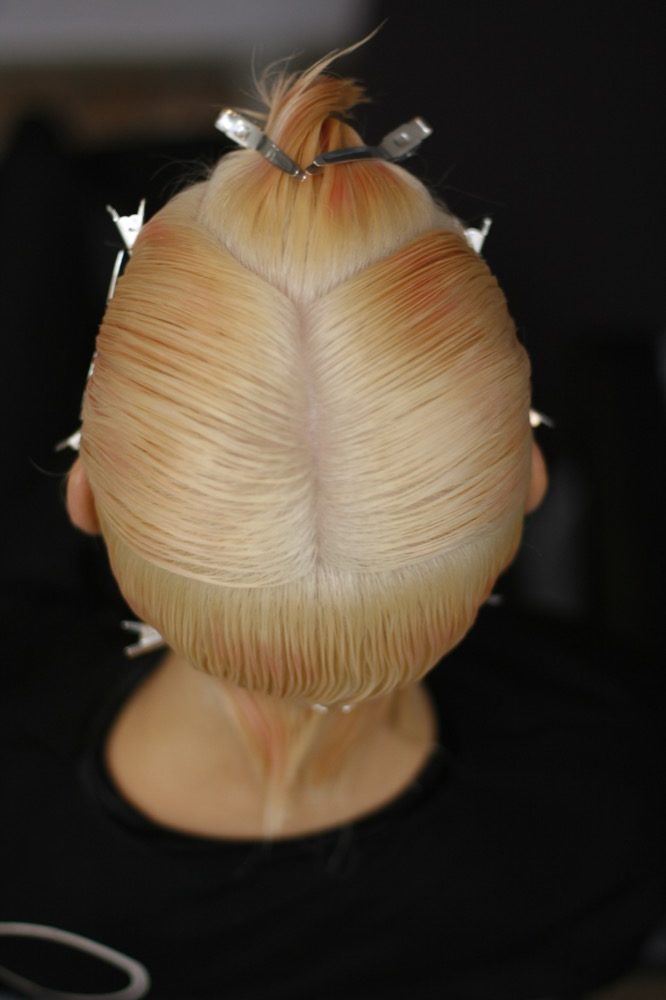
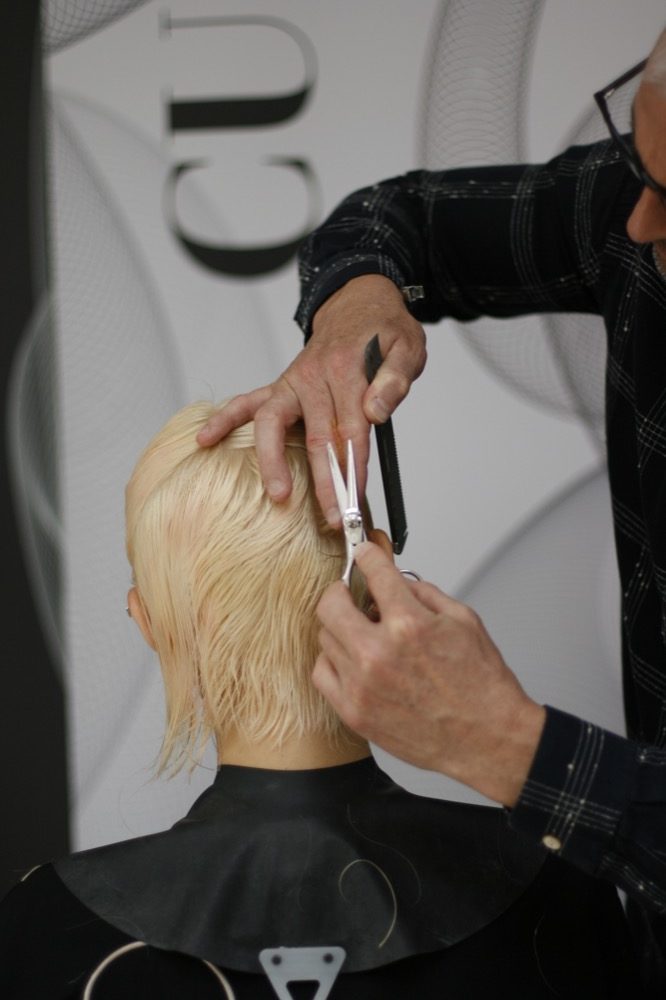
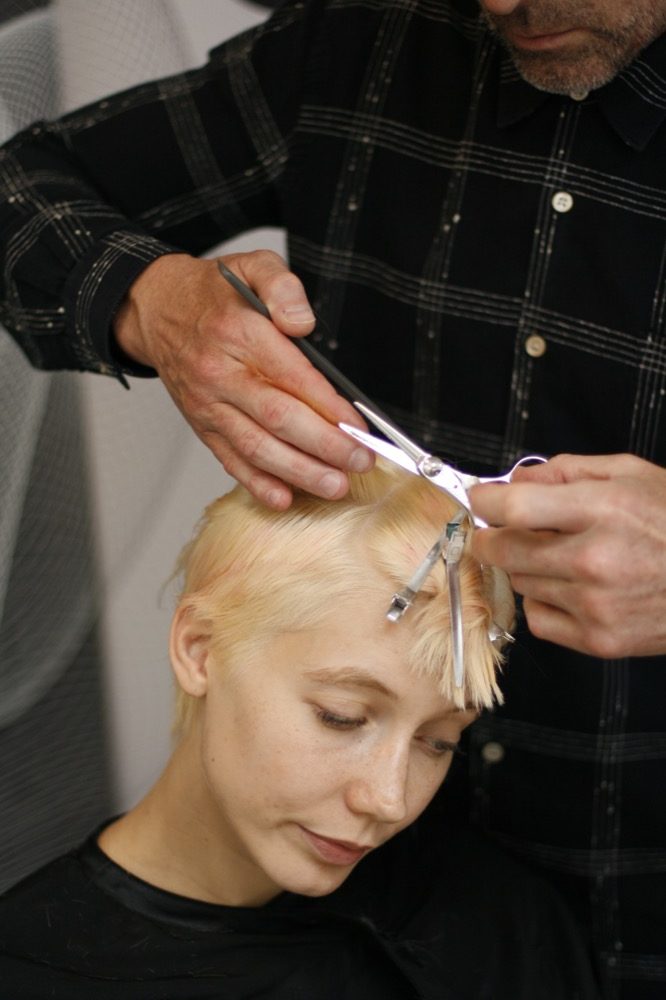
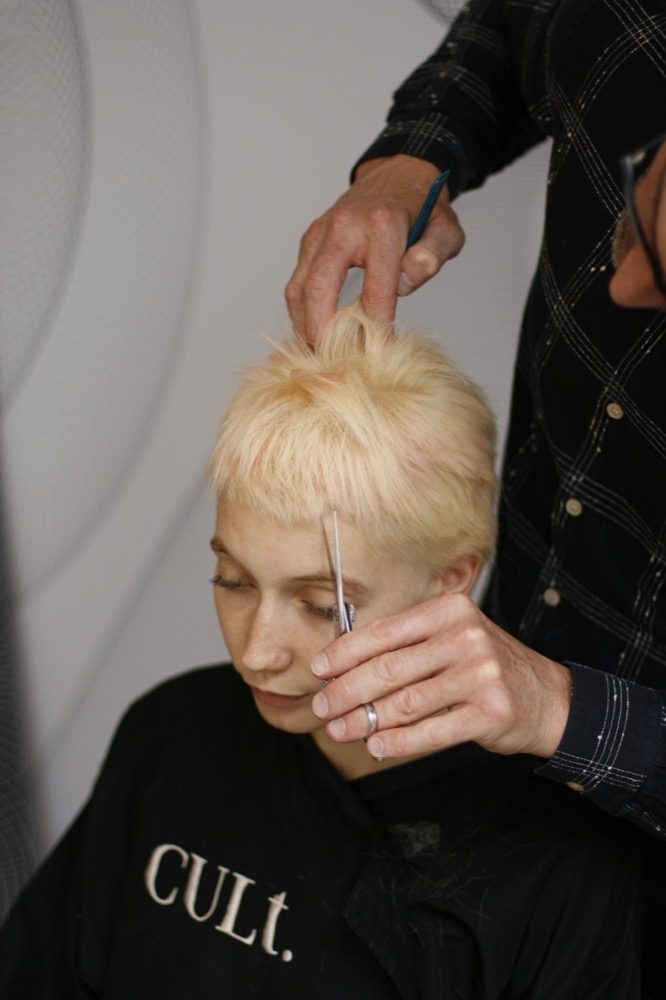
To begin take a triangular section through the top of the head and section. Take a second section from the occipital bone to the tip of the ear and section with a clip.

Step 7

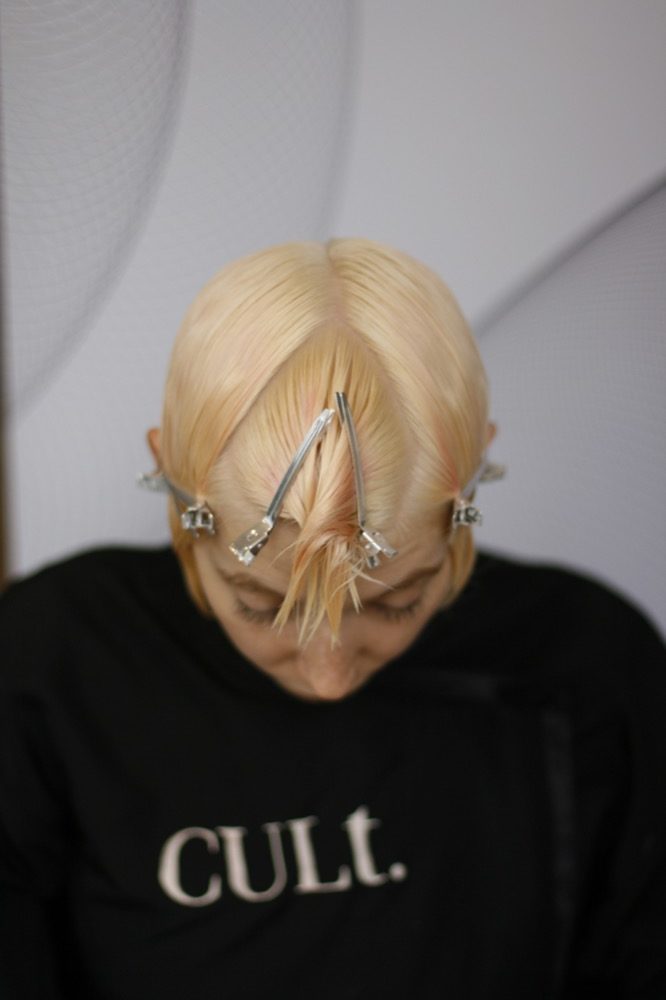
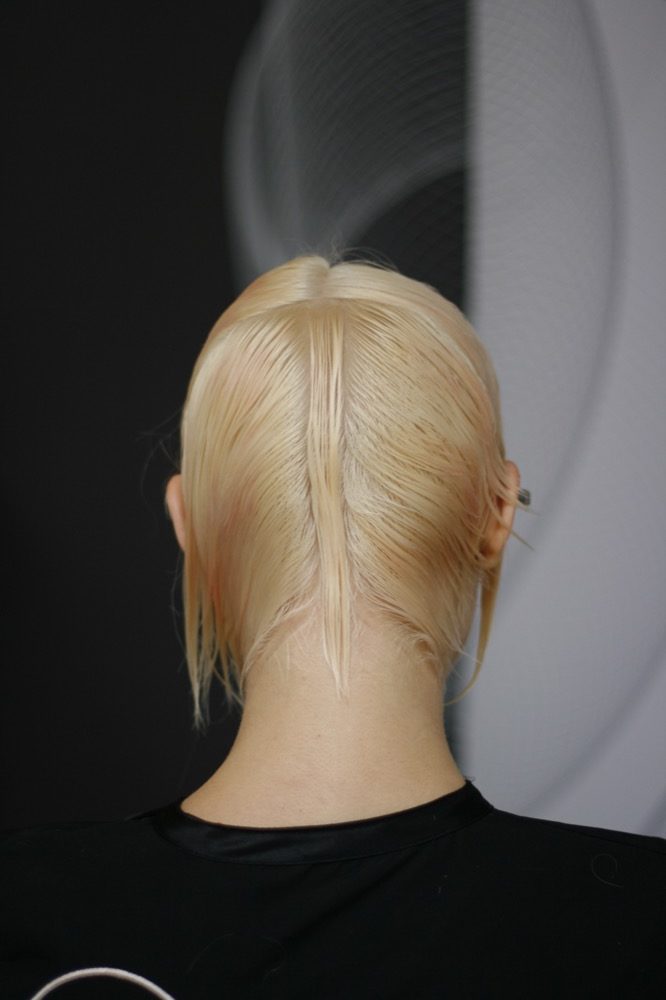
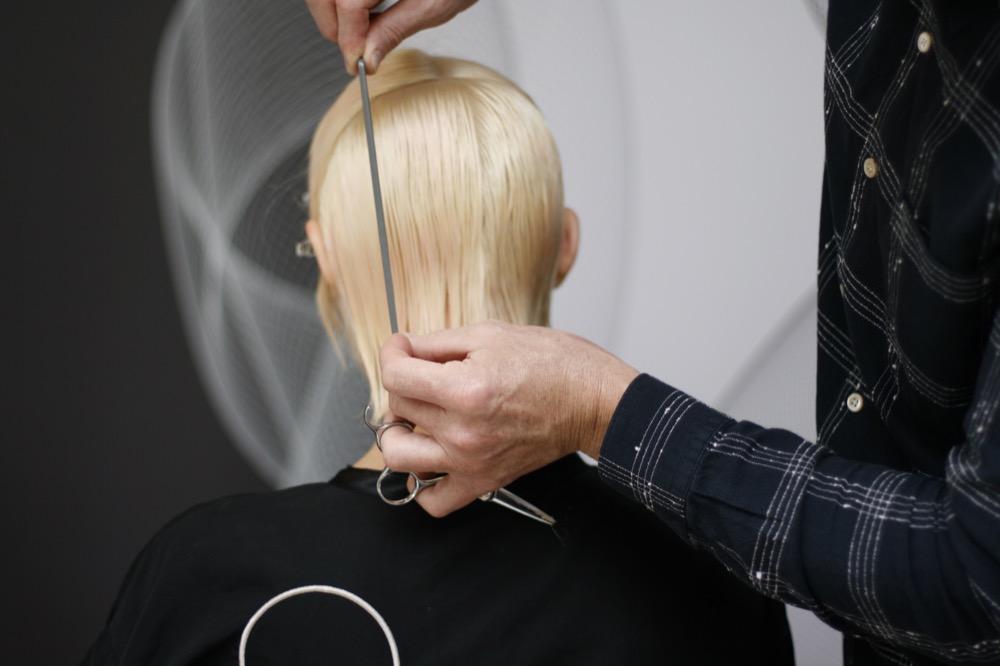
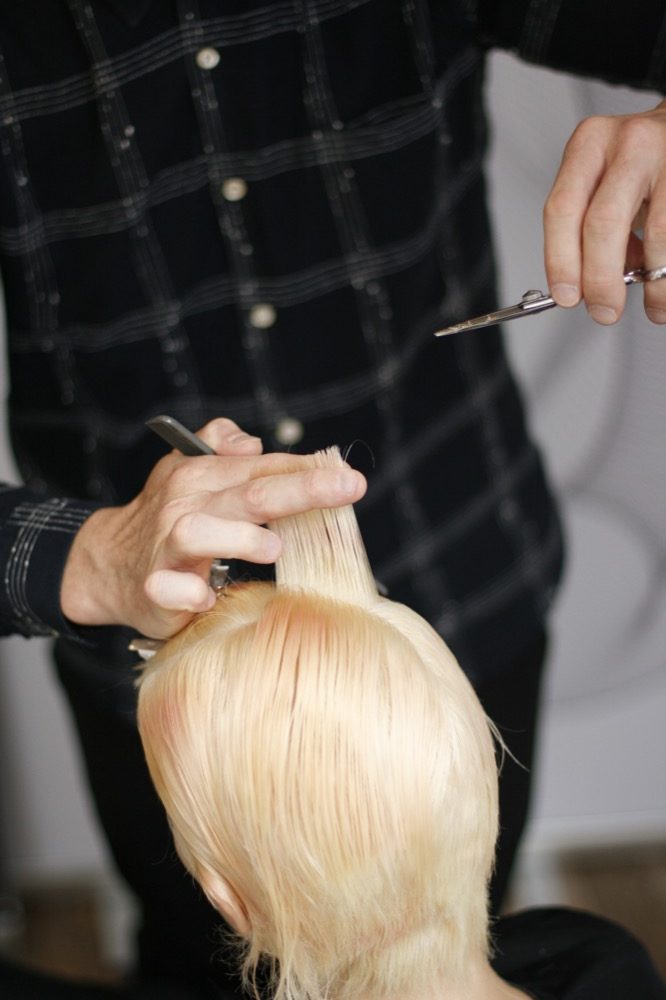
Next take a section from the occipital bone to the nape of the neck.

Step 8
The hair is elevated up and out form the head and a slim layered guideline is cut, that follows the natural roundness of the head.
Step 9
This guideline remains longer through the nape to retain extra length.
Step 10
Subsequent sections are taken parallel to the first and continue working to the corner of the head, before being over directed back to retain length behind the ear.
Step 11
This process is repeated on the second side
Step 12
Take diagonal sections on the opposite side and cross check for equal balance and precision.
Step 13
Apply a small amount of mousse to the hand and distribute through the hair lightly to reduce any bumps or uneven texture.
Step 14
This area is further refined with the use of a pointing technique to remove bulk and weight from this thick dense hair.
Step 15
Finally, refine the outlines to create a strong, shattered effect.
Step 16

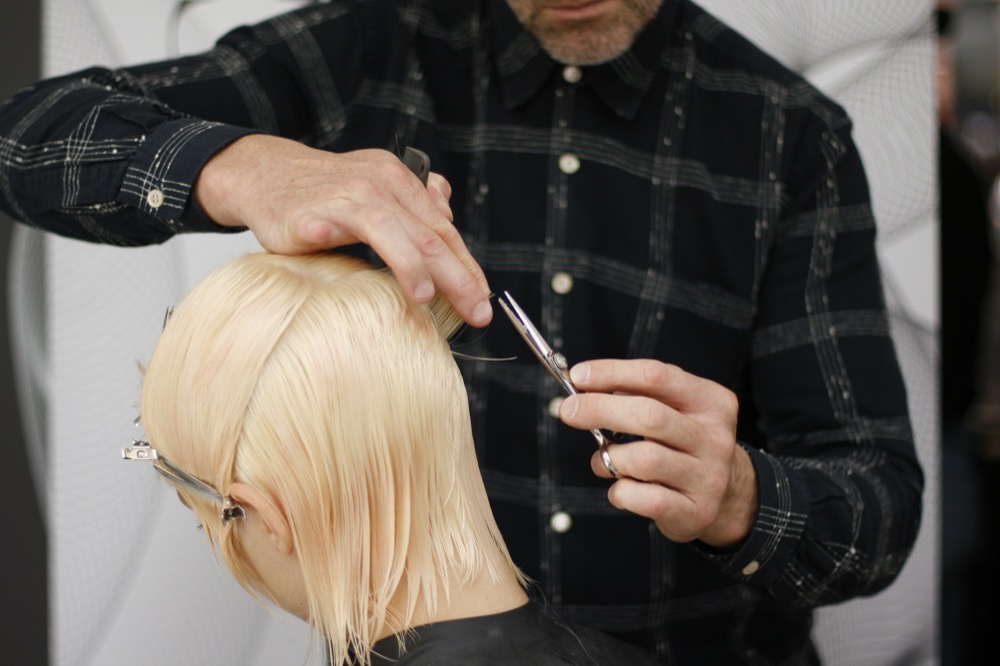
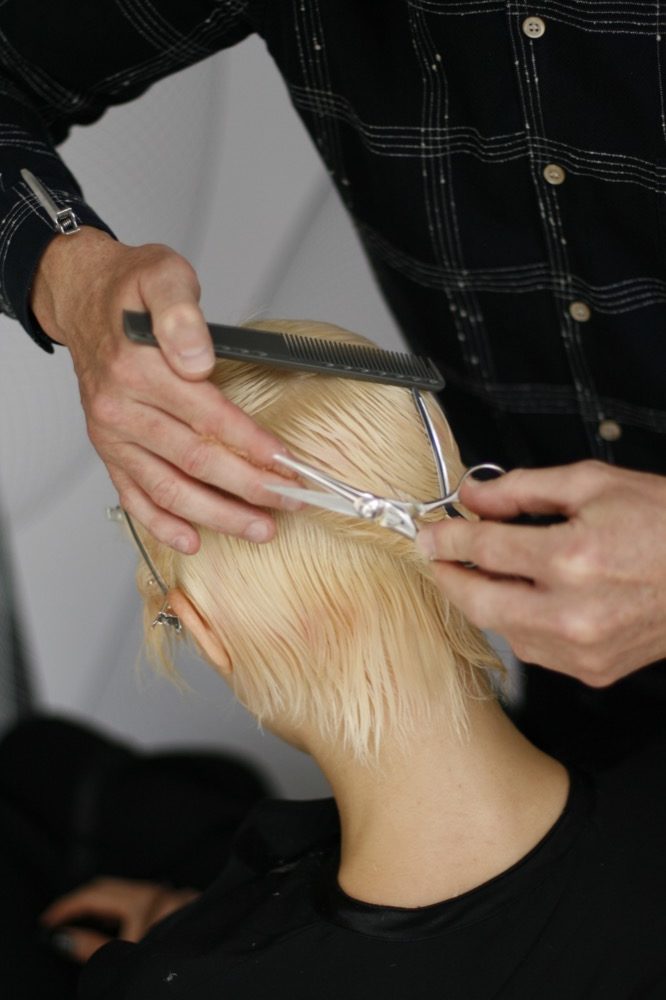
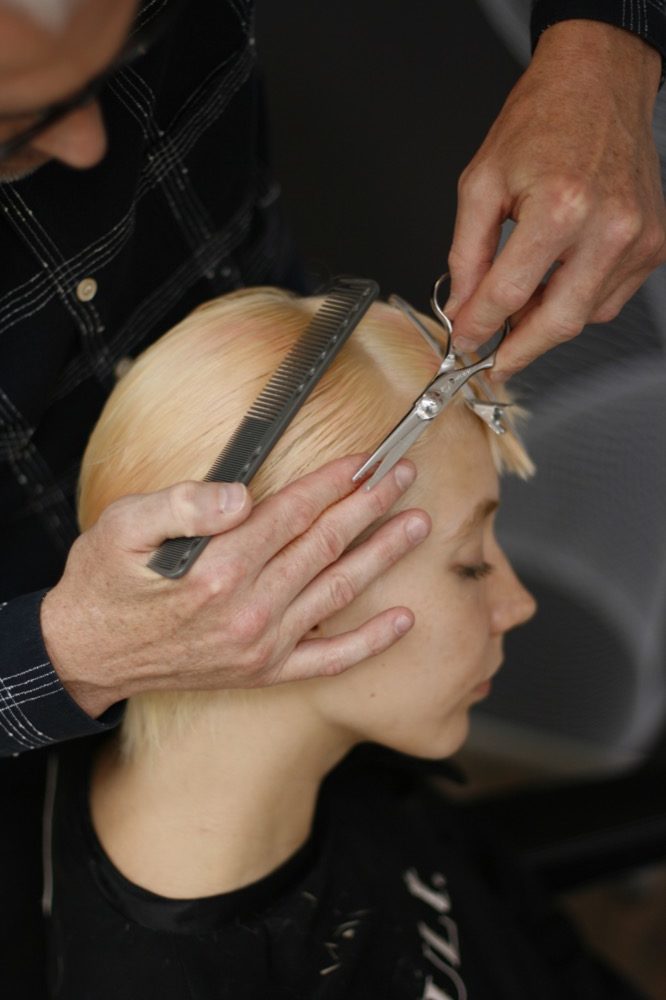
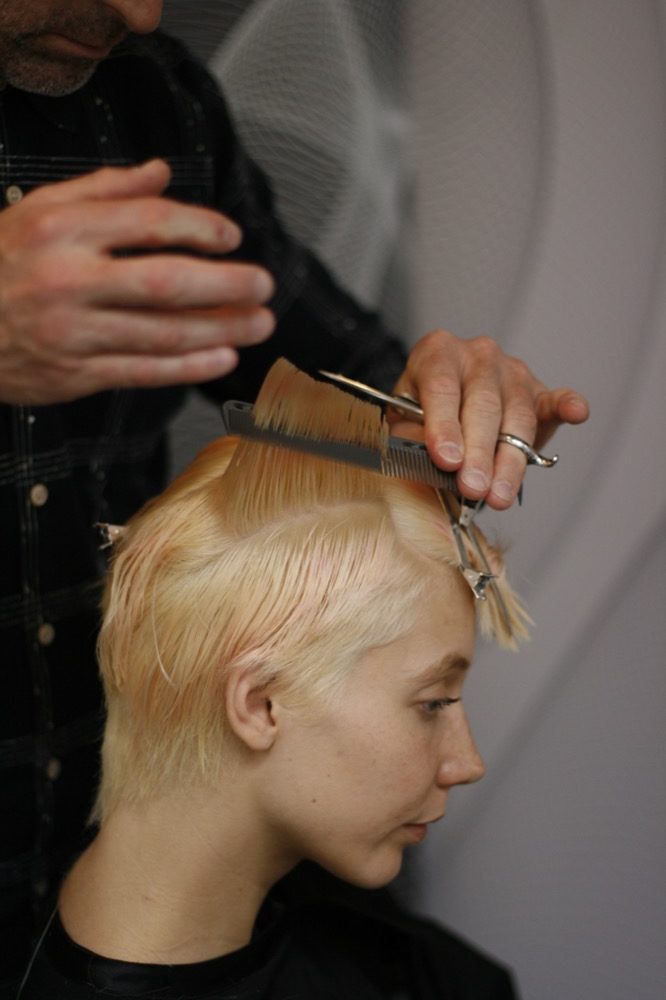
Next, a diagonal section is taken from the temple around the front hairline, the hair is elevated up and layered to create a slim fitted feel through the sides.

Step 17
Subsequent sections are taken parallel to the guide and over directed slightly, to create a full yet fluid layered shape.
Step 18
Here you can see the cutting line used to create a slimming yet textured effect through the layers.
Step 19
This technique is now repeated through the second side working towards the crown.
Step 20
A horizontal section is now taken across the top of the head and a new completely disconnected guideline is cut short and flat.
Step 21
The top is then cross checked in the opposite manner for precision and accuracy.
Step 22
Finally the shape is dried and pointed into to remove weight and refine the shape.
Step 23
Let’s colour!

Hair
CULt Creative Team